
If changing the light fixtures in your bedroom is not making you feel good anymore, you need a more significant change! The best idea is to get your bedroom wall painted! So, do you know how to paint a bedroom wall?
We know you find it difficult, and so we are here to help you out! Today, we will tell you how to paint your bedroom wall with no help!
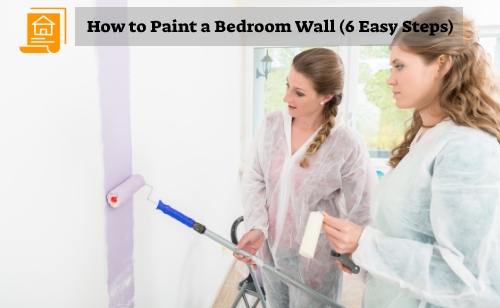
Step-by-Step Process: How to Paint a Bedroom Wall
You might be tired of the old paint and want the best bedroom paint finish this summer to make it look more vibrant. First, prepare the bedroom. There are facts you need to take care of when it comes to bedroom wall painting. Here are the steps!
Step 1: Prepare the Bedroom

Are you worried about how to paint a bedroom wall? We will tell you! First, remove the furniture, upholstery, and other movable objects. Then you must remove the outlet covers, switches, picture hangers, and other objects. Don’t forget to keep the screws safe carefully.
In this situation, you will need painter’s tape to make the windows and the surrounding woodwork. Mask the door frames, baseboards, and ceiling moldings. Also, make sure that the wall is arid. In the damp weather, try to keep the windows and doors shut.
Step 2: Prepare the Accessories
While painting, you will need several accessories to get the job done. Here, get the right paintbrush for you. You will also need a roller. Different rollers offer different finishes. The roller should be long enough to get the job done if you have a rough wall.
If you choose latex or water-based paints, you should have faith in synthetic rollers or paintbrushes. If you decide on alkyd or oil-based paints, you can choose natural and synthetic rollers and paintbrushes. You should get the idea from the paint dealer or your home decor service.
Step 3: Use the Paintbrush
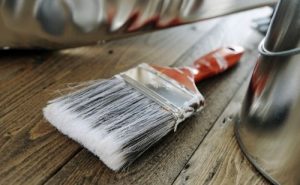
Now that you have planned to paint your bedroom with a paintbrush, you must get the right one first. Most of the time, the brushes for the walls are about 2-3 inches wide to provide flat and large expanses.
When you settle for the trim brushes, remember that those have a straight edge and can work better on the windows and doors. When you prepare the paints, you must color the floor so the paint doesn’t ruin the flooring.
Get the paintbrush and dip 1/3 of the bristles inside the liquid paint. Take it up and touch it to the inner edges of the paint bucket so the extra paint can be squeezed off the brush. With the paintbrush, you must make long and light strokes and smooth strokes.
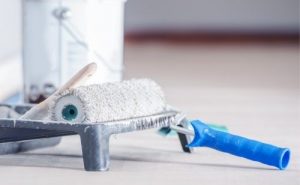
Step 4: Use the Paint Roller
No matter which method you use, cover your skin and hair to avoid the paint touching your skin. Also, wear a mask and eyewear so that the smell of the paint does not disturb you. The areas you cannot reach with the paintbrush are easy to reach with the extension pole of the paint roller.
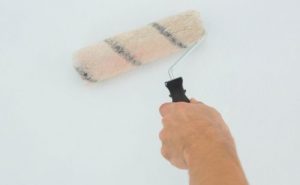
We recommend you get the 12-inch roller for your bedroom wall painting. First, fill the well of the roller tray, and then you can easily dip the roller halfway. Once you go halfway, you must roll back. In this way, your roller will be rolled back to the tray’s angled platform. Here, the excess paint will be removed.
When you start, start with an overlapping “W” pattern, and then you have to re-roll the area horizontally. After finishing the first filling, you can refill the roller and start painting. Do not miss any spot; instead, cover the areas carefully. The first coat will be thin but slow. When you put the second coat, the things will be put together and afford an even paint coating.
Step 5: Paint the Trim

Once you are done with the walls, 80% of your work is done. Now, all that is left is painting the trim. Before starting this process, ensure the wall paint is completely dry. When it is dry, you must carefully remove the painter’s tape added to the trim.
Peel it off slowly, but be careful, as it can easily remove the paint if you are not careful. After removing the tape, tape the trim again, but this time, tape around the trim. Start painting the part of the trim closest to the ceiling and slowly go down. Here, use a 2.5-inch brush for this purpose. Never overwork the paint and go for the first coat. When it is dry, go for the second coat.
Step 6: Let it settle
Now that you have painted the trim, remove the tape. Make sure that the second coat is completely dry so that you can remove the tape. Take it off slowly, and you are done! After this, you must wait for the paint to settle and clean up the surrounding messes. Bring back the stuff inside the bedroom and enjoy the new paint!
Wrap Up
You have already learned how to paint your bedroom wall alone, so you do not need a painter in your house anymore. Follow the easy steps we have mentioned, and you can do it yourself!
Comment below about how you paint your walls, taking no help. Do you have any secret tips to share? Let us know!
You May Read Also