Automotive paint spray is the most used painting process in automobiles nowadays, it is inexpensive, fast, and gives a smooth and beautiful finish.
There are almost 50,000 different auto paint colors available in the market. By having lots of colors to choose from, you will have a fun time choosing the colors you like.
There are metallic colors, and solid colors, then there are candy colors and pearl paint colors. If you still don’t like the options there are, you can still have the color that you want to be customized.
There are unique processes in paint spray. Each one is important as the next step thus, they must follow these distinct steps to have a more than perfect paint outcome.
How Do You Use An Automotive Paint Spray Easily

Choose the best location
Before any painting activity, a suitable location is a must. Make sure that the area has plenty of space for movement, and should be well-lit and well-ventilated.
This is the basic rule when spraying painting because if there is not enough ventilation, there is more danger of paint inhalation (this is supposing you are also wearing protective gear).
It should be well-lit so that you can see what you are painting. Remove any other material or furniture that is inside the place where you will do the paint job.
There should also be an electrical outlet. Always choose a place that has minimal dust and dirt around.
Dent removal
For a steel surface that has been pushed in, you can try using a rubber plunger. You need to put a few drops of water on the edge of the rubber place it where the dent is and establish suction by pushing on the plunger and then by pulling the plunger back to you.
This may take a few tries before the metal completely pops back to its normal flat surface. This technique can be used if the dent is not at all that bad and may be used in the areas of the vehicle where there is an enormous expanse of metal and can easily be pulled out by the plunger.
However, for the steel part, you can use a flat hammer but make sure you have wrapped a cloth around the hammer’s head to protect the paint of your car once you hammer dented parts.
Make sure that you only bang the underside of the car where the location of the dent is. Be sure to do this carefully cause you don’t want to overwork the metal and stretch it.
Fill out gouges, dings, and depressions using a body filler putty
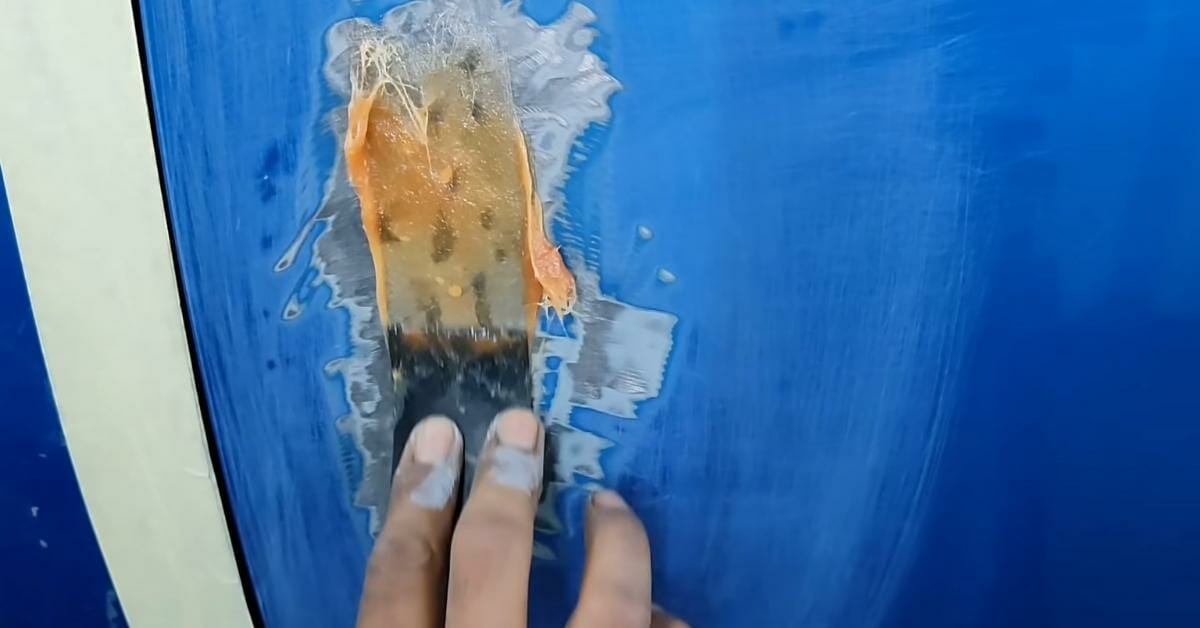
For the part where there is chipped paint or dings, what you can do is fill them in with glazing putty. Use a putty knife for application. Just carefully follow the step-by-step guidelines on how to use the glazing putty.
We can use this technique for small dings and small chipped paint, otherwise, you may need to use a body filler that is specifically designed for the plastic body, steel, or aluminum parts.
Make sure you have checked all the parts of the car that need the above technique so you can do everything in one go.
Hole repairs

Once you remove rust from your car, there is a tendency for holes to appear, as this will replace the rust that was removed. This is unsightly when painted on, so you need to cover these holes.
You may buy from the hardware store as well for putty specifically used for repairing holes, this will not cost you much to purchase too.
Just directly squeeze the putty in the hole, making sure that you flatten it out, and then remove the excess. Let it dry for about 45 minutes to an hour, then you will need to send it as well to smoothen the surface.
Sanding and smoothing the edges

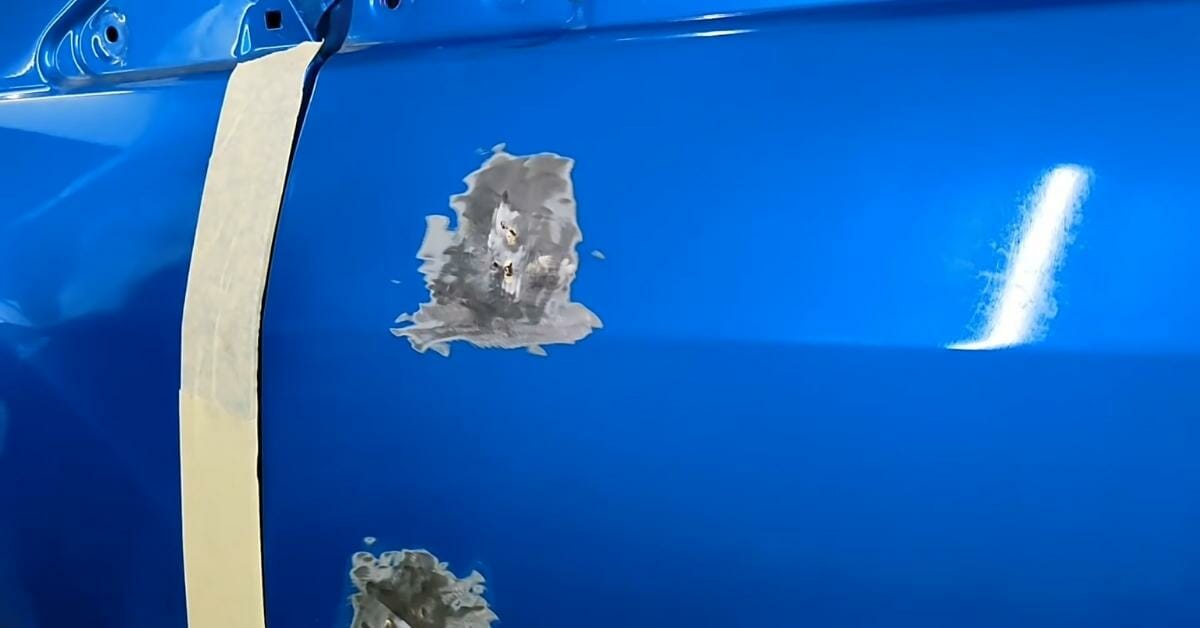
Once the putty completely dried up and the curing process was complete, check the site for any bumps or unsmooth surfaces. This is where you will need sandpaper to smoothen it out. All areas should be equally smooth. The sandpaper is the best go-to for these tasks.
It is best to manually sand the desired area in all directions for a good finish. Edges must be sand thoroughly as well to eliminate the ridges that may appear after the painting process.
Block sanders can be used as well if you have this tool, it can easily do the task but doubly faster.
Removing the previous body paint

Some use a hand sander for this task and it may or may not do the job well because of the difficulty to remove every bit of old paint in the vehicle and you may just be surprised with a patch-up job after.
The best tool for this job is the electric orbital sander since this tool can remove paint on extensive areas of the vehicle. The electric orbital sander can even take longer to finish the job, so you have to be patient and careful while doing so.
The electric high-speed sander can do its job efficiently because it is a high-powered tool perfect for these tasks.
Remember to apply the same sanding pressure to all the areas of the vehicle so that there is an equal removal of old paint. You may also sand the bottom if you prefer. We should apply the circular motion when sanding for a perfect result.
Continuously sand all parts of the vehicle to remove all left-out gloss as this will cause the automotive paint spray and primers to not stick well to the car.
Always take a few steps back, check the area you have just sanded, then see the other areas to compare if every gloss and paint are removed equally.
Clean up the vehicle after sanding
After the sanding process and removal of the old paint, there will be debris that will still be on the vehicle and some dust particles. Here, it needs complete cleaning.
By wiping and clearing the area, the dust particles will not be left out to cling to the car when it is being painted.
When this happens, your vehicle will not look appealing with some dust and debris that is obvious after the painting process. Best to use a wet cloth for this task as dust and debris cling to wet cloth easily.
Taping surfaces to make sure it is safe from paint
You may opt to use masking tape or perhaps newspapers because this will completely cover the parts of the vehicle you don’t want to have some paint on like the glass, door handles, mirrors, tires, and window trim. Check the other areas that need covering.
Prime the vehicle

Since you have sanded your vehicle, the metal requires a corrosion-resistant and self-etching primer to prime your car’s surface.
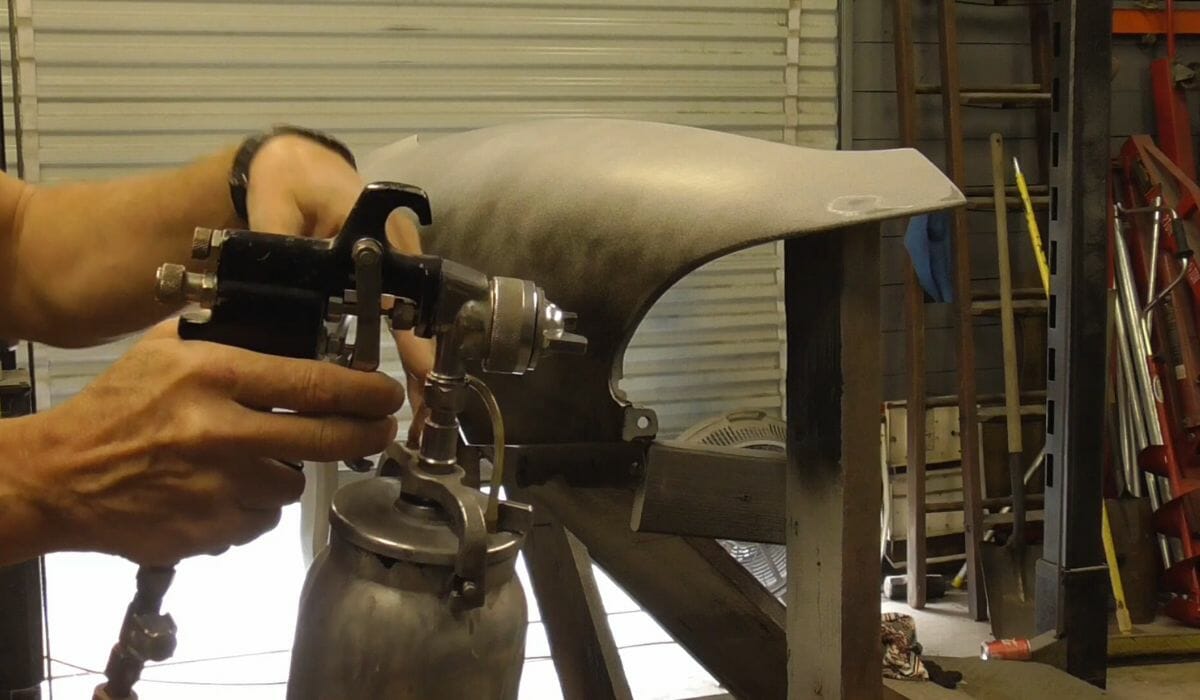
There are different spray guns for a primer that you can use as well. Using a brush for priming your car may not be the best idea there is, it will take a lot of effort and will take your time to finish the process.
A sprayer will give you an even coating of primer all over the vehicle. The best primer to use is a good epoxy primer because it is the most versatile primer out there and is compatible with paint coatings available.
You should use a back-and-forth stroke for primer, and primer paint spray should be moved at a consistent pace to achieve an even coating. Before applying the second coating of primer, you need to wait for at least 15 to 20 minutes to ensure that the first coating is dry.
Then, the same will be done for the third coating. It is well-advised that you use a thin coating instead of thick sprays of primer paint as it will just cause the paint coatings to drip and will take you a long time to dry it up, may take you the whole day just to do that.
Wait for the primer to dry
Always remember to dry the primer before doing anything else like sanding the vehicle once more. Sand carefully this time cause you do not like to expose metal surfaces again. Again, you need to use a back-and-forth stroke evenly.
Clean up after every sanding to ensure that the vehicle’s surface is clean of debris. You may use soap and water for this task plus a clean cloth. Then there is a need to rinse the vehicle after and towel it dry.
Painting

Make sure you are ready for painting first, taking into consideration that you have read the directions and have prepared the paint for spraying.
Here, you can also test the paint first in a piece of cardboard or any hard material. Start spraying from the distance and then you may check the painting outcome.
By doing this step, you are not just testing the sprayer but also checking the outcome of the paint color and to check the pressure of the spray paint, and knowing how to control the tool.
Hold the paint spray at a distance
By holding the paint spray at least 8 to 12 inches away from your vehicle you just have the right space and distance to see the job you are doing and the paint will not be concentrated on just one spot.
Do not spray too quickly
It is a must for you not to spray paint the vehicle too quickly, should be in slow and even strokes, right to left, and not up and down motion. If you missed some area, just come back to it in your next coating.
Drying time
For every automatic paint spray, wait for the drying time, which can be anywhere from 30 minutes to an hour.
Spray more coats
To completely cover the surface you have to spray 3 to 4 coats in even motions but make sure the vehicle is dry after every application.
Do not heavily spray in one go
Do not rush the spraying of paint and heavily spraying the vehicle, this will cause patches of paint in one area and will only create a problem that you need to correct after.
Correct every mistake
Before you continue with the painting, you should be aware and check where you have incorrectly sprayed the painting, you can already see paint build-up or runs as this will show easily.
Sand and clean
So you are at your last coat, you need to sand the surfaces for powdery residue afterward, just clean with a clean cloth, and then spray paint for the last coating.
Clear paints
You may wait half an hour before spraying clear paints. It is sprayed the same way as the regular paint, and the same motion is applied. Clear paint can help protect your vehicle’s paint from UV rays.
What are some important tips for spray painting your car?

- Do not overspray in one area, spray on a small surface one at a time.
- You should always dry the previous paint before spraying another layer, if you are not happy with the result it is easy to repaint and go back to the mistake of spraying every paint in one go.
- Nozzles of the paint spray should always be clean of debris or any dirt particles.
- Instead of pushing the paint spray, you may invest in triggers for better paint quality.
Conclusion
There are professional car painting services around that may cost you a lot of money for a well-done job or a more affordable one that you may or may not like the result.
However, if you are kind to DIY there is no one keeping you from painting the car yourself since there are many self-help videos you can now find online and there are available painting materials easy to purchase this method may also save you a lot of money.
You May Read Also

