Nowadays, it’s very easy to get things done. With a simple search on the Internet, you can do it all: from buying what you need and waiting for delivery to learning how to do it conveniently and efficiently by yourself, with your tools.
While some prefer the first option, others come across articles like this that will teach them how to do it by themselves.
Best Way To Install Cordless Faux Wood Blinds
Plan
Inspect the market
Whether you go in flesh and bones or search the Internet, you have to know and weigh your options. If you buy online, you have the chance to filter your search by certain criteria.
It’s subjective how many filters you’ll find on one site or another, but look at those carefully.
They’re there for a reason. Besides easing your search, they give important clues on the existent possibilities. You might realize that what you need is under another name in certain filters. Or even in another category.
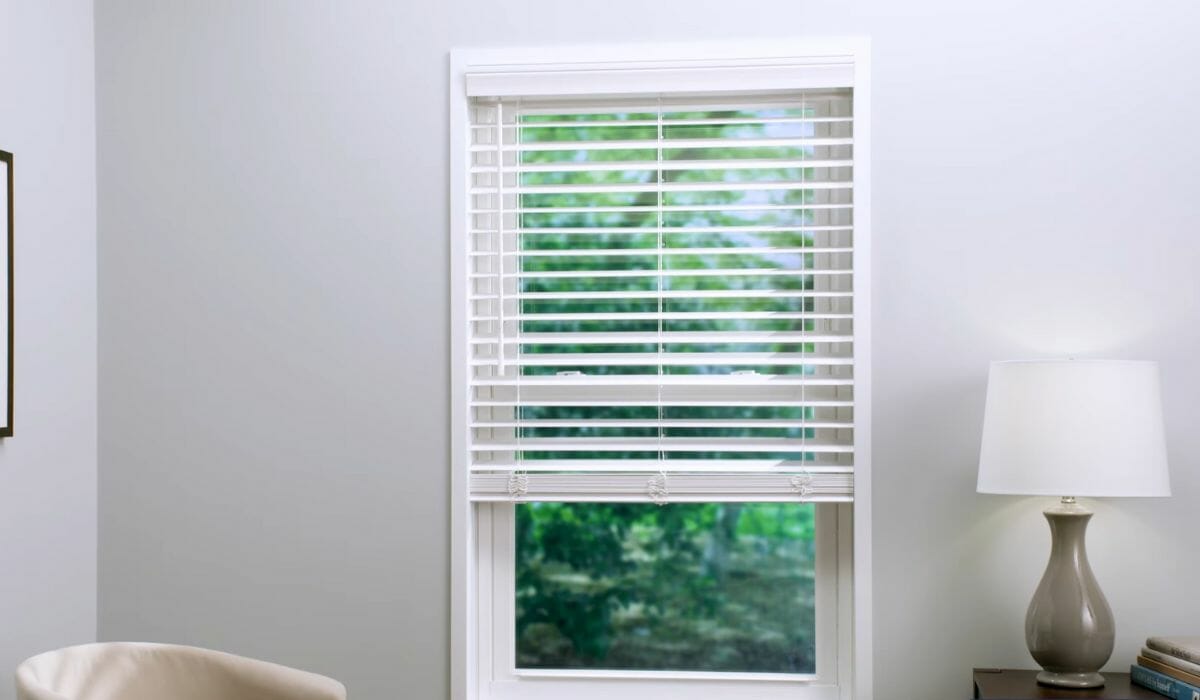
Cordless Faux Wood Blinds are reliable and likely to have what you’re looking for. The Cordless Faux Wood Blinds are no novelty in terms of their existence and use.
However, they’re more and more looked for as they improve the look of any room you’d install them in. And it’s easy to do that by yourself.
Also, it’s an advantage in terms of intimacy- even if you want to protect your personal space from the sun itself.
What to look for?

It’s important to see all the options available in the market. Compare the designs and the prices, check the reviews, and all the pros & cons. Reviews are key.
It’s worth trusting your gut, but sometimes, simply considering others’ opinions might save you money.
Planning is not the most enjoyable activity. Gathering information is not easy work. But it’s better than regretting your choice later.
WARNING: Don’t buy anything until you’ve followed step 2, presented below!
Measure!
With the planning done and the blinds selected, now comes the real challenge that can make it or break it: measurements.
Make sure you have a tape measure!
How to measure windows?
Think of when you buy clothes. You can’t choose the right one if you don’t know your size first. It’s the same with blinds.
Before you choose your blinds, take your time to measure your windows as many times as you need until you get the size right.
Measuring the window opening is key. Many people make the mistake of measuring the size they visualize for the future blinds and not the window’s opening. Also, the width is more important than the length, so consider starting with that when you measure. The blinds need to be at least as wide and longer than your window opening.
Unpacking
With all said and done, with the measurements finished and the blinds delivered, it’s time to unpack.
User manual
It’s key to go through it multiple times. Make sure you understand everything written there. The instruction manuals are not poetry. They’re technical, and nothing is redundant or invites reflection. So, it’s a must to understand.
If you need instructions on how to install faux wood blinds, the user manual is right there.
What are these?! – Identify the equipment!
Along with the blinds come many other pieces of equipment that are smaller and, therefore, trickier.
They are also similar in design and serve different purposes. Make sure you know about each. The easiest way to do that? User manual.
Components
Balance, large balance, side balance plates, corner pieces for the balance, and brackets. They are all in the box. And all is needed is to install the blinds. For an inside mount, you might not need to use all the pieces, but you still need to know what each does.
Start installing! Inside Mount & Outside Mount
By the way, make sure you have a screwdriver and a drill machine. Otherwise, you won’t be able to install the blinds. Ah, and a pencil. You want to keep things nice and clean. And to mark those dots with a screw? Not the best idea, isn’t it?
INSIDE MOUNT
Step 1: Mark and drill

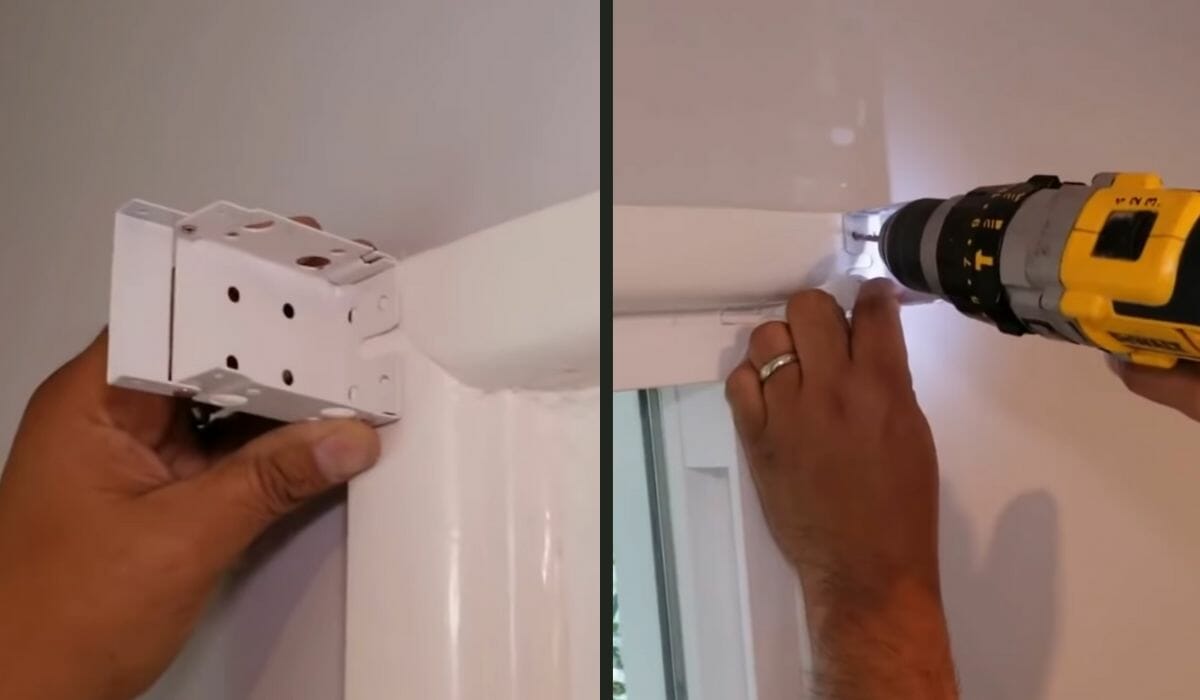
You’ll have to make a bracket. Stick it up in the corner. Then, mark two holes wherever is convenient for you. Advisable to keep a distance of at least a quarter-inch on each side.
Now, using the drill machine, drill the 2 holes. Take two brackets, and screw those into the holes you’ve just drilled. Repeat the process on the other side of the window.
Step 2: Install the blinds

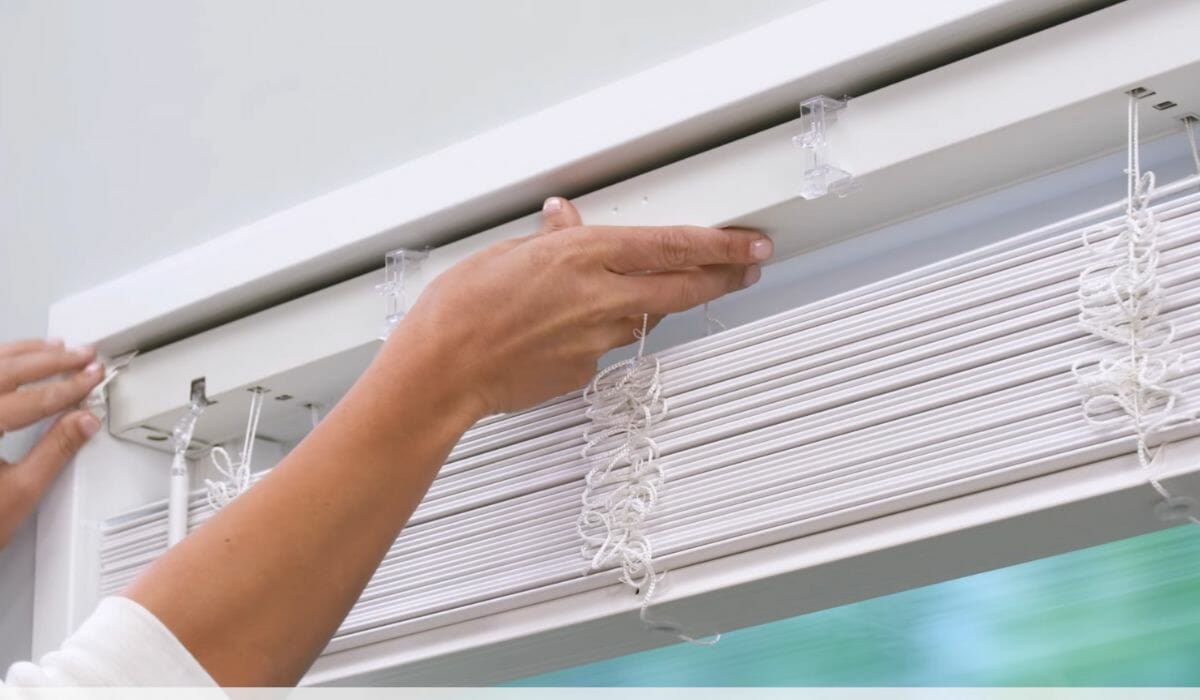
First things first, install the trim brackets on your blinds. It’s very easy. They snap right on. Now, insert the blinds into the brackets. Snap them down and then push the trim piece onto the brackets.
No worries here; they snap in place quickly. Now, pull the blinds. See how much they can spread. It’s no rule of thumb or mandatory, but you can cut off the extra blinds.
Pay attention!
If you choose to do that, make sure you cut the additional stuff, too: the little strings in between. And watch out for what you cut. Also, remove the nubbins.
You could use a screwdriver, preferably a flathead one. Now, to make it look perfect and impossible for anyone to tell you’ve cut a little off the blinds, make some more adjustments by making knots on the strings and shoving them up in the little holes.
In other words, get rid of the excess that cannot be thrown away and hide it within. Put the nubbins back in place. Do this for every side of the window. Good job!
Step 3: Test

Now that you’ve followed all the steps and you’ve just finished installing those nice-looking Cordless Faux Wood Blinds, test them. Stick the rod back in and see how it looks and how it works. Looking good? Pat yourself on the back.
OUTSIDE MOUNT
Cordless Faux Wood Blinds give a fresh aspect to your house and intimacy. They also give 2 possibilities in terms of placement: inside or outside. Above, we’ve presented the steps required to mount them inside. Now, it’s time to analyze the steps from the outside.
Step 1: Preliminary steps
The process is the same. Take a tape measure. Avoid using a ruler or other things. Tape measures are accurate, and that’s what you want, right?
Measure your windows: top, middle, and bottom for the width. Put on paper the sizes, carefully. Now, from left to right, measure the height you’d like to cover: left, center, and right.
Note again. It’s advisable to write the largest measurement, and when you go to purchase blinds, take that measure or longer than your recorded height. Repeat the whole process for accuracy if needed.
Step 2: Install the blinds
Mark headrail corners & Drill

Now, hold the blinds above the window and mark the top corners of the headrail. Always Mark 2 dots on each side. Make sure the headrail is centered and leveled. The brackets should be aligned to the corners.
Mark the screw holes and drill with a 1/16” bit. Some suggest paying attention to some details before screwing brackets securely into place: if you drill into drywall, it’s good to use wall anchors; if you drill into wood, use a 3/32” drill bit. Attach the end caps to the bottom rails.
Mount the Blinds

First, to mount the blinds, raise the bracket doors into the open position and slide the headrail into the brackets. Now, simply close the bracket doors until you hear them snap into place.
After that, attach the valance clips to the headrail. Next, install the valance by lining it up with the clips on the headrail and snapping it into place.
Then, 6-12” apart, attach the cord cleats. Again, the drill.
Now, a useful tip given by many: Wrap the cords around in the shape of an “8“for better safety. To lower the blinds, pull the lift cord toward the center of the window, and then pull the lift cord toward the edge of the window to lock the blinds into place.
You’re done. Looks good. Pat yourself on the back again.
What’s the difference between Inside and Outside Mount?

Blinds can be mounted inside or outside your window frame, depending on your preference.
Inside mount
Due to the required spacing on the left and right-hand sides to accommodate the brackets, you might get a stream of light on either side of the blinds.
A general recommendation for the inside mount is to make sure you don’t have sills or other obstacles in the way of operating the blinds. If you do, opt for an outside mount instead.
Outside mount
When it comes to an outside mount, the blinds are mounted either on the window frame itself or outside the frame on the wall. Good to know that when installing a wall, locate a suitable anchor point, such as a wall stud, for installation strength.
Also, make sure you use appropriate plugs and screws when you fix them directly to concrete or brick wall.
Inside vs Outside Mount
The outside mount certainly gives more flexibility when it comes to choosing your blinds.
The size is not as important as it is in the case of an inside mount because it overlaps the window frame. But after all, it’s a matter of taste, and both choices look good and are convenient.
Conclusion
Congrats, now you know how to install Cordless Faux Wood Blinds by yourself. As the sun can no longer blind you, let your new blinds do that instead, with their fresh look. Thanks for reading.
You May Read Also

