
Wood products like cabinets have always been valued for naturalness, environmental friendliness, durability, and simply for beauty.
Nowadays, when everyone seeks to transform their home by adding interesting decor elements to the interior, the theme of painting cabinets or other wood products at home is becoming increasingly relevant.
At first glance, painting cabinets may seem quite simple. However, to get a perfectly smooth surface and a high-quality result, many nuances must be considered. Besides, a perfect cabinet paint sprayer is necessary.
Today, we will learn how to paint cabinets so that the results are pleasing to the eye and the product remains attractive for a long time.
What Do You Need to Paint a Cabinet?
Paint sprayer
Primer – you can use an acrylic primer
Paint – alkyd, oil, or acrylic, aerosol, or regular
Acrylic transparent varnish – it will protect the painted wood surface from damage and also add depth to the color and shine of the new coating
Respirator and gloves for protection during
Solvent for degreasing the surface before painting (it is possible to use mineral spirit, kerosine, or memorable degreasing compositions)
Tissue or a dry, clean cotton cloth
Masking tape, paper, or a covering film
Sandpaper with excellent grain size
spatulas and putty, the best car you will need if you plan to remove deep scratches or chips
How To Paint a Cabinet?

Paint selection
Today, the market of paints and varnishes for working with objects and structures like cabinets offers many different materials: from alkyd and oil enamels to modern spray paints.
Acrylic enamel dries quickly, has water-repellent properties, and is universal—it is suitable for almost any type of wood, except for wood species with high resinity.
Oil enamels are suitable for working, even with resinous rocks, but they take a long time to dry. Alkyd paints are often chosen for their low cost and ease of use, but they have specific problems with durability, especially when used for outdoor applications.
Alkyd paint has water-repellent properties, is used on all types of wooden products, dries quickly, and does not absorb deeply.
If you plan to work with wood at home, such as painting cabinets, aerosol acrylic paints will be the best choice.
Working with them at home is surprisingly simple and convenient. The paint does not have toxicity (unlike oil and alkyd enamels) lays perfectly evenly, creating a smooth coating, and dries quickly.
A paint sprayer is suitable for updating old or damaged surfaces and for full coloring/repainting of cabinets. Acrylic spray paints, in their composition, are excellent for application on cabinet surfaces.
Aerosols can quickly and easily refresh an old table, chair, cupboard, bookcase, wooden object, or interior element. The wooden surface painted with spray paint is completely protected from moisture, corrosion, and dirt.
Acrylic paint is environmentally friendly and non-toxic, and does not contain fluorine or chlorine. Tinting varnishes make it possible to tint the tree for valuable species – oak, pine, walnut, and others – while protecting the wooden surface from damage and abrasion.
When choosing a material for painting wood, also take into account the following points:
- Conditions in which the wood product will be used (climate, humidity, etc.);
- Compatibility of the selected coloring material with the previous coating
- The possibility of reprocessing in the future
- The type of wood you are going to paint
Guide To Using a Cabinet Paint Sprayer
Steps-1:
If you paint a cabinet at home, protect the floor, walls, and home decoration from accidental paint splashes. Use newspapers or a covering film for this.
Steps-2:
Before painting a cabinet with your own hands, it is recommended to remove the old paintwork, dirt, and dust. You can remove the old paint with special washes or a building hairdryer, which “steams” the old paintwork.
Such a total removal of the old coating is necessary if the paint is peeling badly. If the old coating keeps well and does not interfere with you, removing it is unnecessary.
Sand the surface evenly with fine sandpaper. After removing the old paint and grinding, thoroughly wipe the surface with wet rags and dry it.
Steps-3:
Degrease the surface before painting using any suitable means, such as white spirit or acetone.
Steps-4:
If the wood product contains cracks, deep scratches, or chips, you can remove them with putty and a putty knife. After the work is done, wait for the putty to dry, sand it with fine emery paper, and wipe it clean with a damp cloth.
Steps-5:
Before painting your cabinet at home, glue the places not to be painted with construction adhesive tape and remove them immediately after finishing work. If you paint wooden furniture – protect or remove accessories, glasses.
Steps-6:
For a better result, we recommend priming the wooden surface with just one layer of primer before painting. For porous surfaces, you can use an aerosol acrylic primer or a regular primer. The primer forms a film on the surface, perfectly closes the pores (thereby reducing paint consumption), and increases the service life of wooden products.
Steps-7:
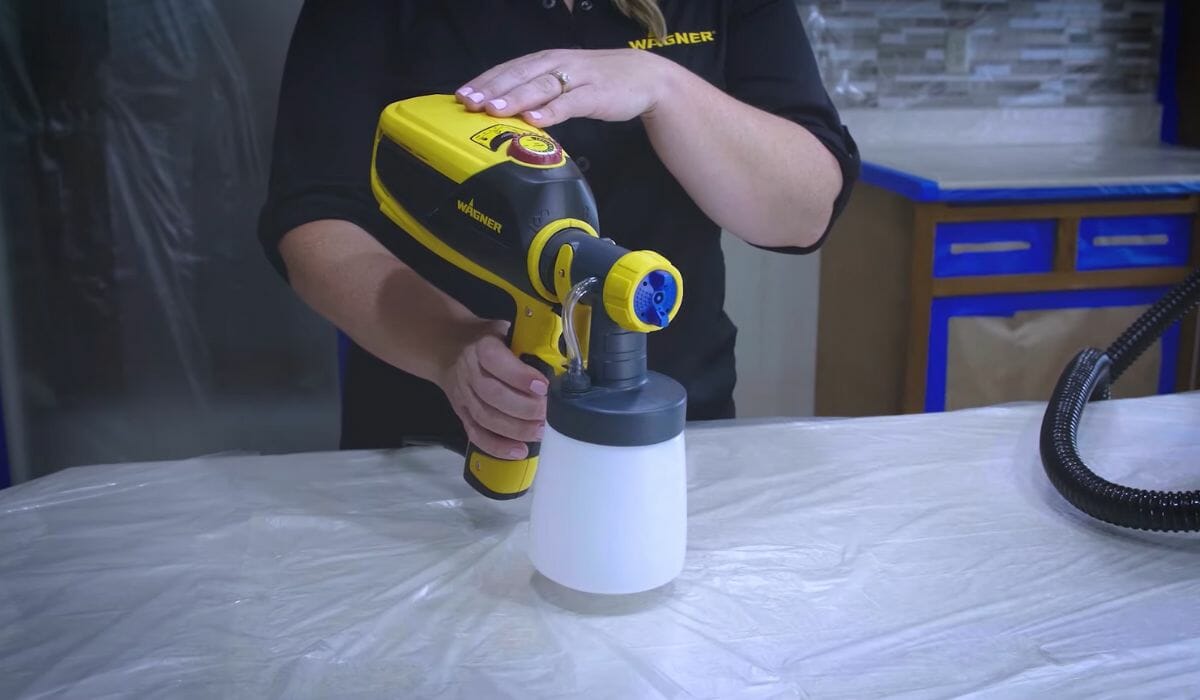
Now, you can start the painting process. If you have chosen aerosol paint, shake the can for at least 30 seconds before painting. Spray the aerosol paint from a distance of 20-30 cm from the surface. Applying paint requires smooth movements (brush or balloon).
After the first coat has dried, which takes 15-20 minutes, apply the subsequent layers of paint. It is recommended that at least 2 – 3 layers of paint be applied when painting the cabinets.
A competent painting of a cabinet is a painstaking and rushed job. Attention to detail, smooth movements, uniform distribution of paint on the surface – this is the main thing you require. Pay special attention to the end parts of the boards, holes for fittings and screws, joints, etc.
– All this must be carefully stained.
Steps-8:
After the paint dries, apply acrylic varnish in the same way and wait for it to dry. Full (final) drying takes place in 2 – 2.5 hours, after which the product is ready to use!
Painting wooden decor items, furniture, etc. – This is a great way to give new life to your favorite things, the opportunity to decorate the interior stylishly, and harmoniously fit old furniture into new repairs.
As you can see, painting at home is straightforward, even for a beginner; it will not take much time and will not require special equipment.
Choose a sunny day, arm yourself with bright colors, and start creating – now you know that painting a tree or a wooden surface with your hands is not as difficult as it seems.
This enjoyable process will undoubtedly lead you to new ones in the design of your home and give you genuine pleasure!
Effective Use of a Paint Sprayer
Always keep the spray gun at an equal distance from the wall.
It takes some time to get used to using airless paint spraying equipment effectively, so we recommend you practice on some plywood waste first or on an inconspicuous part of the room. The practice is to coat the surface with a uniform coating equal to the paint.
Keep the spray gun at a constant distance of 6 to 12 inches from the surface, and keep this distance with each pass of the spray gun. Hold the spray gun exactly parallel to the wall.
Do not sweep it back and forth, or you end up with a wide arc of paint on the wall that will be concentrated in the middle of the arc and almost transparent (very thin) at each end.
Paint about 3 feet of horizontal stripes at a time, then release the trigger and descend to another strip of the same length. Please overlap the first strip by 1/3 to 1/2 since it must cover the final surface evenly.
After you cover a three-foot-wide area at the top of the wall at the bottom, go back to the beginning and start a new 3-foot section next to the first, overlapping the edges of the first painted area a few inches as you work your way down the wall.
Examine the painted areas to ensure an even coat of paint is applied across the entire surface. Too much paint will work or drip down, and too little paint will show based on the old paint.
If you notice these flaws, it means that you are breaking the airless sprayer the same distance from the wall at all times or knocking it over.
An upward slope will deliver excess paint to the bottom of the painted strip, while tilting down will focus the paint at the top of the strip.
To prevent paint from building up thickly at the end of each strip, release the trigger with the spray gun for 1 second before the spray gun stops at the end of your stroke.
When a new lane begins, the pistol moves for a split second before pulling the trigger. Always keep the gun off when spraying it.
Also, make sure that you dilute the paint correctly and adjust it under pressure following the manufacturer’s instructions. If there is too much or too little thinner, too high, or too low a pressure, do not spray the paint sprayer correctly.
Related