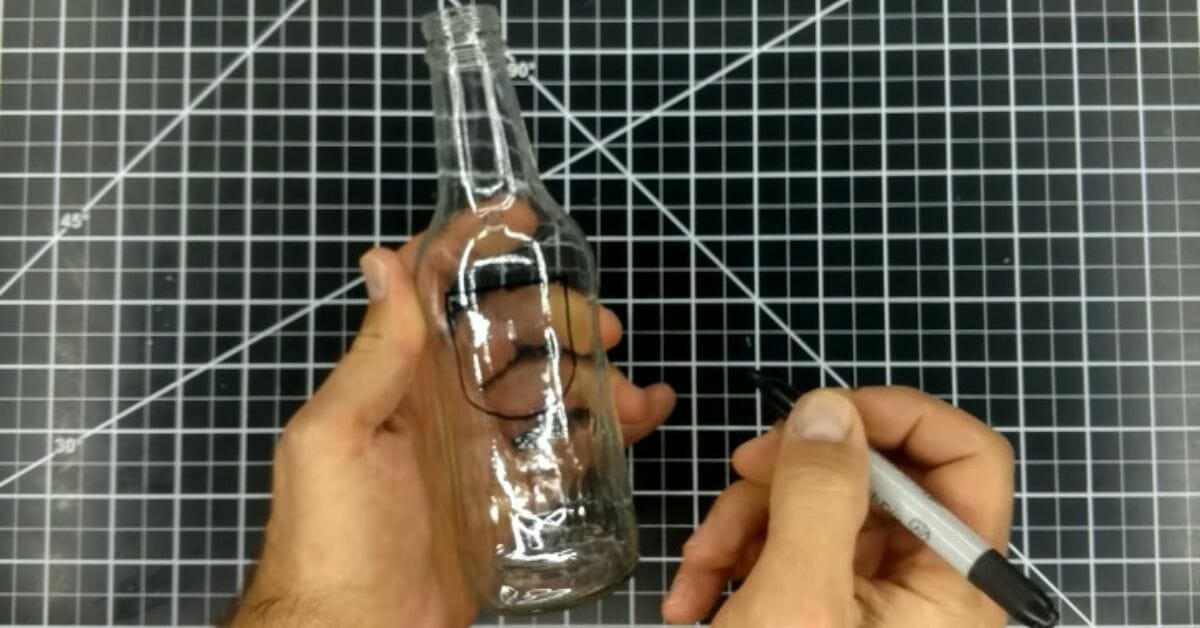
People learn the skill of cutting holes in a glass bottle. It can be a great addition to their crafting and decoration projects. It requires you to follow a technique that is simple and easy. It is just like drilling a hole in any other surface. However, take precautions while doing it because it’s a little dangerous too.
How to Cut a Hole in a Glass Bottle?

As the world is trying to make the COVID-19 vaccine, billions of glass bottles are in use. They are cut down, and holes are made to use them further. The most important thing to learn about how to cut in a glass bottle is precautionary measures. Cutting a hole is easier than you think.
However, you have to be very careful about the process. Make sure you wear protective goggles, gloves, and a suit. Properly securing the glass bottle is also crucial. Work towards it slowly and steadily.
Here is the list of things you will need for this task, followed by the significant job steps.
- Glass bottle.
- Power drill.
- Protective goggles.
- Gloves
- Facemask
- Sandpaper
- Awl Tool.
- Cutting bit.
- Marker, pen, and tape.
Mark and Position the Bottle
Mark the Spots

- Put two pieces of tape in an X shape on a glass bottle.
- Press them enough so they stick to their surface nicely and remain flat.
- You can use any type, like medical, textured, electrical, or others.
- This tape will allow you to be sure about the position where you need to drill the hole.
- It will also ensure that the bit does not slip on the glass, as the tape provides some friction.
Draw Dots

- Take a pen or marker to draw a circle on the tape.
- It should be right in the center where the two tap pieces overlap.
- You should make the dot large and dark enough to be easily visible.
- It will act as a track for the drill bit to make the hole exactly where it needs to be.
Position the Bottle
- Position the bottle on some soft support.
- It could be a piece of cardboard, a towel, or your old T-shirt that you no longer wear.
- Lay the glass bottle over it so that the area with the tape is facing the upper side.
- Drilling would be far easier if you positioned the bottle on a chest-high surface or shelf.
Start Drilling

Fit a Bit on Power Drill
- Select the bit that can make a sharp hole in the bottle.
- Its size must be such that the hole made with it is precisely what you want.
- Attach the bottom section with the pointed front of the drill.
- Press it enough to confirm that its attachment is tight with the drill.
- The carbide or diamond tip of the bit would help in easy and quick hole-making, so buy that one.
Grab and Secure the Bottle
- Grab the bottle from the side, which is easy to handle.
- For safety and accuracy, whole size is possible only if you drill while the bottle is secure.
- The hand grabbing the bottle must be at a safe distance during drilling.
Keep it Cool and wet.
- Keeping the bottle wet after every few seconds of drilling can secure the process.
- You can also set it up in the sink and open the faucet. It will keep the bottle wet.
- You can also drill a hole in a plastic bottle, keeping the open side towards the place where you are drilling. The water coming out of that hole will keep it wet and cool.
Make Precise Starter Holes
- Start by making an exact hole.
- To do this, put a moderate level of pressure at medium speed.
- Keep drilling at the same speed and pressure until the inner space becomes empty.
Drill Wide Holes
- Now that you know how to cut in a glass bottle, continue the process for other holes.
- Changing the bit on the drill tip after every 2 to 3 holes is essential.
- Also, keep on applying the lubricant for smooth drilling.
Finishing of Hole Edges

File the Edges
- Filing the edges is a necessary step when you are done with drilling the hole.
- You can do this by sanding its inner sides.
- This will help you remove any sharp edges on the sides of the hole.
- Thus, you will have no safety issues while using it in the future.
Wash Lingering Particles
- Put the bottle under the faucet and let the water run over it for a few minutes.
- This will remove all the lingering particles from its surface.
- Also, flush the inner side of the bottle because there will also be residues.
Install Rubber Grommet
- If you are planning to pass some spring, wire, or anything from the hole, it’s better to have additional protection around it.
- You can install a rubber grommet to smooth out the edges.
- You can buy it from a credible shop.
- Press it on the hole until it secures itself inside the hole.
Conclusion
Always try to start the cutting process with properly working tools. If you know the right technique, you are good to go. I’m sure that the guide about how to cut a hole in a glass bottle will be of great value to you. Try to practice a little before doing it on the original piece. Your protection is also important; therefore, never miss out on anything that you need for it.

